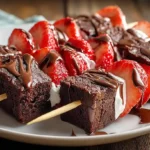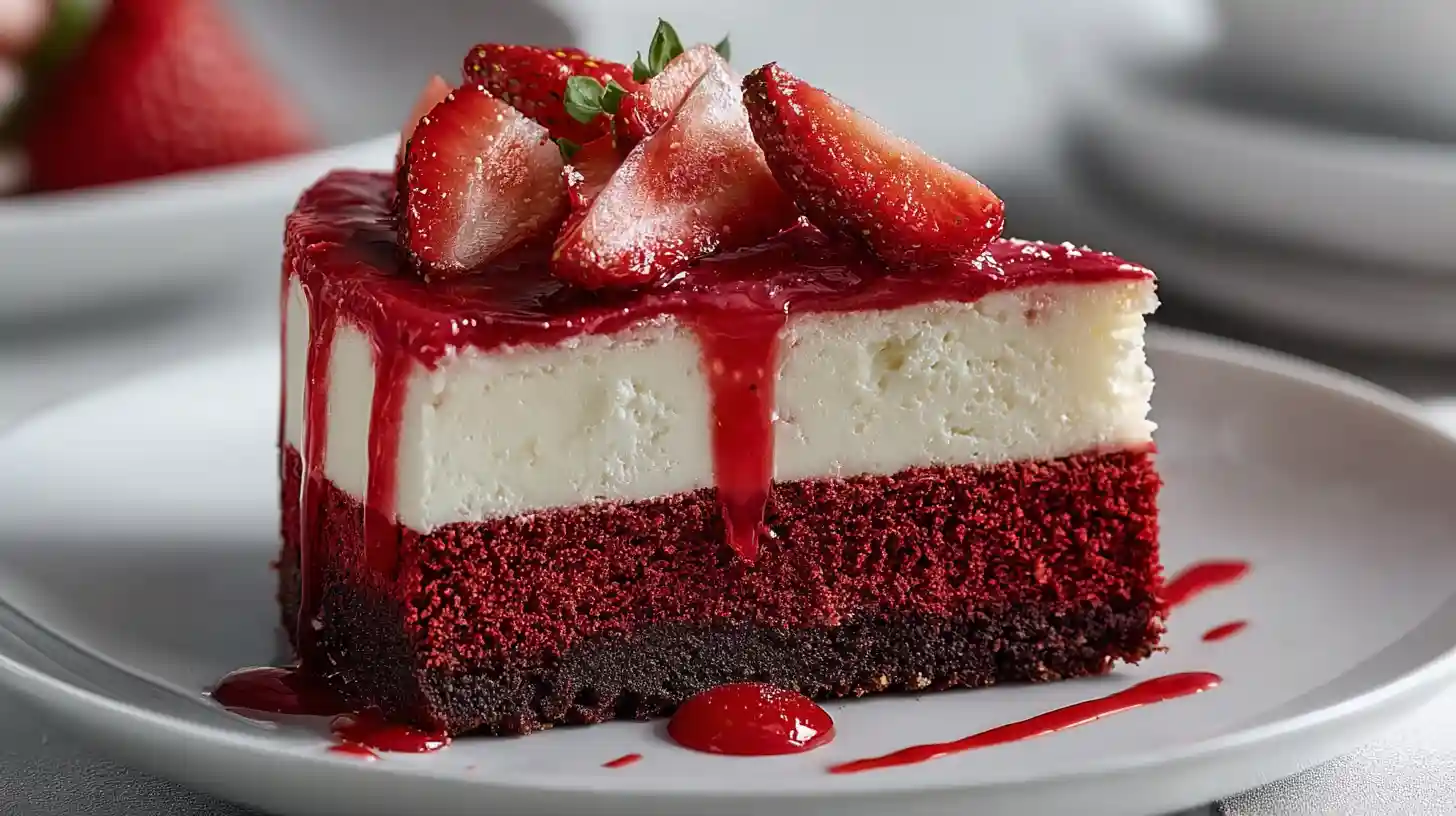
There is something undeniably magnetic about a Red Velvet Strawberry Cheesecake. It pulls you in with that vibrant color contrast—the deep, dramatic crimson of the cake base against the soft, pastel pink of the cheesecake layer. I remember the first time I tried combining these two distinct desserts. I was looking for cake baking ideas that would bridge the gap between a classic birthday cake and a creamy after-dinner treat, and this hybrid felt like the perfect answer. It’s rich, tangy, and carries just enough cocoa to cut through the sweetness of the fruit.
This isn’t just another one of those tasty sweets you whip up in five minutes. It is a labor of love, but the result is a stunning dessert that looks incredible when you finally serve a slice of this cake on a plate. The base is a moist buttermilk sponge, not a dry cookie crust, which gives every bite a satisfying chew. The filling uses reduced strawberry purée to ensure the flavor is concentrated and the texture remains silky, avoiding that grainy consistency that sometimes plagues fruit cheesecakes. If you are hunting for dessert cake ideas that impress visually and flavor-wise, this recipe is a keeper.
The Red Velvet Base Layer
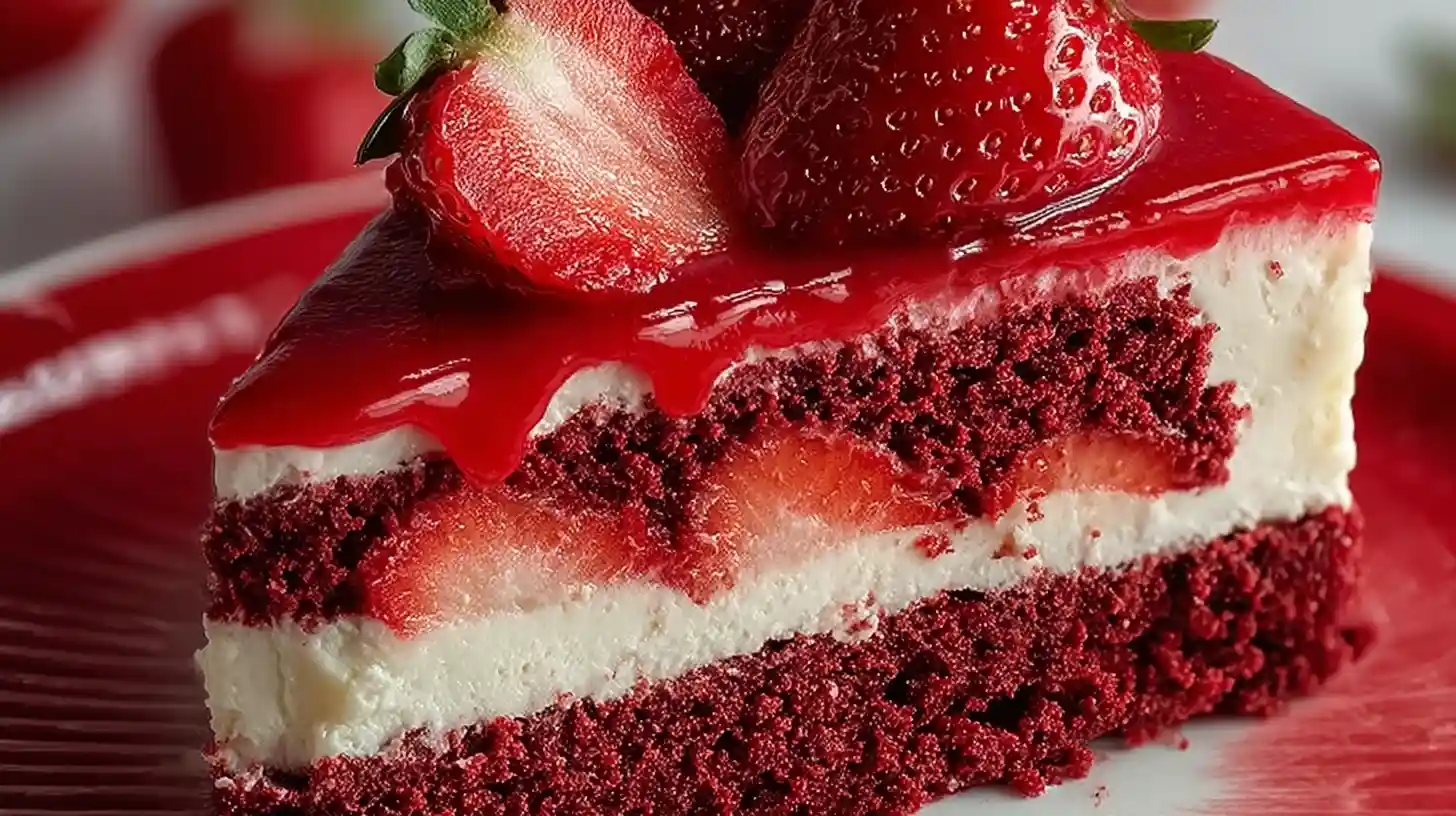
Unlike traditional cheesecakes that sit on graham crackers, this recipe starts with a thin layer of red velvet cake. This provides a sturdy foundation and introduces that signature hint of chocolate and vinegar acidity. For the best texture, we bake the cake layer first until it is just set. You want it to be firm enough to hold the heavy cheesecake batter but still moist enough to fuse with the top layer during the long bake.
When mixing the batter, be careful not to overwork the flour. A tough cake base can ruin the experience of the creamy top. Treat it like any delicate cake and pastries batter; fold gently and stop as soon as the streaks of flour disappear. Using room temperature buttermilk is also non-negotiable here, as it ensures a tender crumb that cuts easily with a fork.
Creating the Strawberry Cheesecake Filling
The secret to a robust strawberry flavor without a soggy cheesecake lies in reduction. Fresh strawberries contain a lot of water. If you simply blend them and dump them into your batter, the excess liquid will prevent the cheesecake from setting properly. Instead, we purée the berries and simmer them on the stove until they reduce by half. This creates a thick, jam-like paste that packs a punch of flavor without compromising the structure.
Room temperature ingredients are vital for the filling as well. Cold cream cheese leads to lumps, and no amount of mixing will smooth them out once the eggs are added. Beat the cheese and sugar until completely smooth before adding anything else. This patience pays off with a luxurious, velvety mouthfeel that defines truly cake delicious quality.
Key Ingredients Breakdown
For the Red Velvet Cake Base
- All-Purpose Flour: Provides the structure for the cake layer.
- Cocoa Powder: Just a small amount for that classic red velvet flavor profile.
- Red Food Coloring: Gel paste works best for a vibrant hue without adding too much liquid.
- Buttermilk: Adds moisture and acidity to tenderize the gluten.
- Vinegar & Baking Soda: The traditional leavening agents for red velvet.
For the Strawberry Cheesecake Layer
- Cream Cheese: Full-fat brick style is essential. Do not use tub spreads.
- Fresh Strawberries: You will need about a pound to reduce down for the filling.
- Sour Cream: Adds tanginess and softens the texture.
- Eggs: The binding agent. Add them last and mix minimally.

Baking and The Water Bath Method
To prevent cracks and ensure even cooking, a water bath is highly recommended. Wrap the bottom of your springform pan in multiple layers of heavy-duty foil to prevent water from seeping in. Place the springform pan inside a larger roasting pan and fill the roasting pan with hot water until it reaches halfway up the sides of the cake pan. The steam generates a gentle heat that cooks the eggs slowly, preventing the edges from drying out before the center is done.
Baking times can vary depending on your oven, so rely on the wobble test. The edges should be set, but the center should still jiggle slightly like set gelatin. Turn the oven off and crack the door open, letting the cheesecake cool inside for an hour. This gradual cooling prevents thermal shock, which is the main culprit behind surface cracks.
Storage and Freezing Tips
This dessert needs time to set in the refrigerator, ideally overnight, but at least for 6 hours. This resting period allows the flavors to meld and the texture to firm up, making it easier to slice cleanly. Among all dessert cakes, cheesecake is one of the best for making ahead.
Refrigerator: Store leftovers in an airtight container for up to 5 days. Press a piece of plastic wrap directly against the cut surfaces to prevent them from drying out or absorbing fridge odors.
Freezer: You can freeze the whole cheesecake or individual slices. Wrap tightly in plastic wrap followed by a layer of foil. It will keep for up to 2 months. Thaw in the refrigerator overnight before serving. This makes it a great option if you need cake and sweets ready for unexpected guests.
Troubleshooting Common Issues
If your cheesecake cracks despite your best efforts, don’t panic. You can easily cover imperfections with whipped cream or fresh sliced strawberries. A cracked surface often happens if the batter was overmixed, incorporating too much air which expands and then collapses. Keep your mixer on low speed once the eggs are added.
If the red velvet layer seems dry, it might have been overbaked during the initial blind bake. Remember, it will continue to cook while the cheesecake layer bakes. It only needs to be set enough to support the filling, not fully baked through like a standalone cake.
FAQ
Can I use frozen strawberries for the filling?
Yes, frozen strawberries work well since you are cooking them down anyway. They release more water initially, so you might need to simmer the purée a few minutes longer to get the right consistency.
Do I absolutely need a water bath?
Technically no, but without it, the texture will be denser, more like a pie, and the top is almost guaranteed to crack. For that smooth, creamy restaurant-quality texture, the water bath is worth the extra step.
Why did my cake batter float into the cheesecake?
This happens if you pour the cheesecake filling directly onto the cake base with too much force, or if the cake base wasn’t baked enough to form a crust. Pour the filling gently over the back of a spoon to distribute the weight.
Can I make this gluten-free?
Yes, you can swap the all-purpose flour in the red velvet base for a high-quality 1:1 gluten-free flour blend. The cheesecake filling itself is naturally gluten-free if you check your ingredients for additives.
How do I get clean slices?
Dip a sharp knife into hot water and wipe it dry before every single cut. The heat helps the blade glide through the cold cheese without dragging crumbs from the cake and dessert layers.
Can I use a different size pan?
This recipe is optimized for a 9-inch springform pan. Using a smaller pan will require longer baking times and may risk overflowing, while a larger pan will result in very thin layers.
Red Velvet Strawberry Cheesecake
Ingredients
Equipment
Method
- Simmer strawberries: Puree fresh strawberries and cook in a saucepan over medium heat until reduced to 1 cup. Cool completely.
- Bake cake base: Mix flour, cocoa, oil, buttermilk, vinegar, 1 egg, red dye, and 1/2 cup sugar. Bake at 350°F for 15 mins in a greased springform pan.
- Make filling: Lower oven to 325°F. Beat cream cheese and remaining sugar until smooth. Add reduced strawberry puree, sour cream, and remaining 3 eggs one by one.
- Assemble and bake: Pour filling over the crust. Place pan in a water bath and bake for 55-65 mins until center jiggles slightly.
- Chill: Turn off oven, crack door, and let cool 1 hour. Refrigerate 6+ hours before serving.
Notes
- Use a water bath to prevent cracks.
- Ensure all dairy ingredients are at room temperature.
- Store leftovers in the fridge for up to 5 days.