
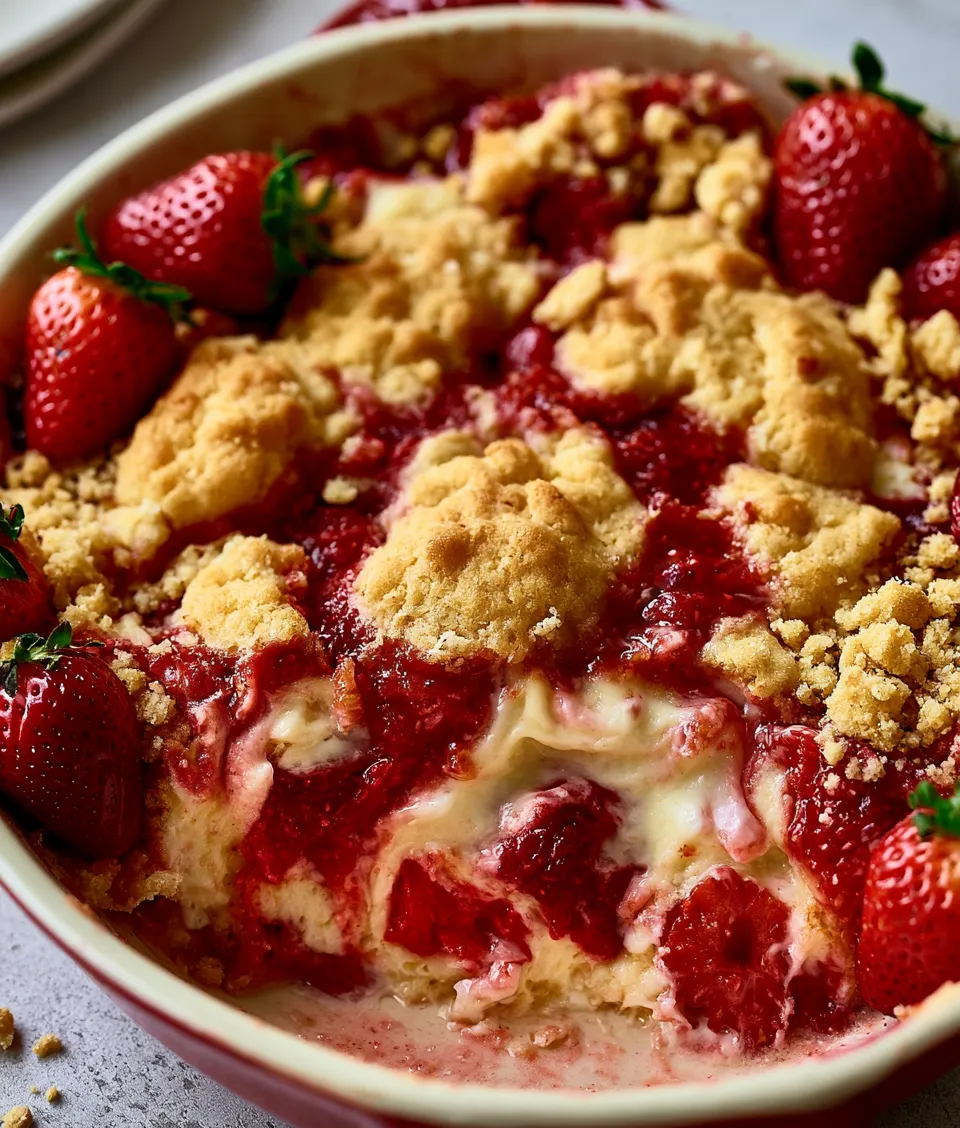
Strawberry Cheesecake Dump Cake 3A5Eb0E367D1 is one of those desserts that looks more layered and thoughtful than the method really is. You spoon in the fruit, add the creamy middle, top it with cake mix and butter, then let the oven do the rest. The result lands somewhere between a fruit cobbler and a cheesecake bar, which is probably why it keeps showing up in lists of easy tasty desserts.
This is the kind of recipe that works when you want fast easy dessert recipes without giving up on texture. The strawberries stay juicy, the cheesecake layer softens into the fruit, and the top bakes into a buttery crust with just enough crunch. It is a very low-effort dessert, but it still feels like a proper finish to a meal, especially when served warm with a spoonful of whipped cream.
Why This Dump Cake Works So Well
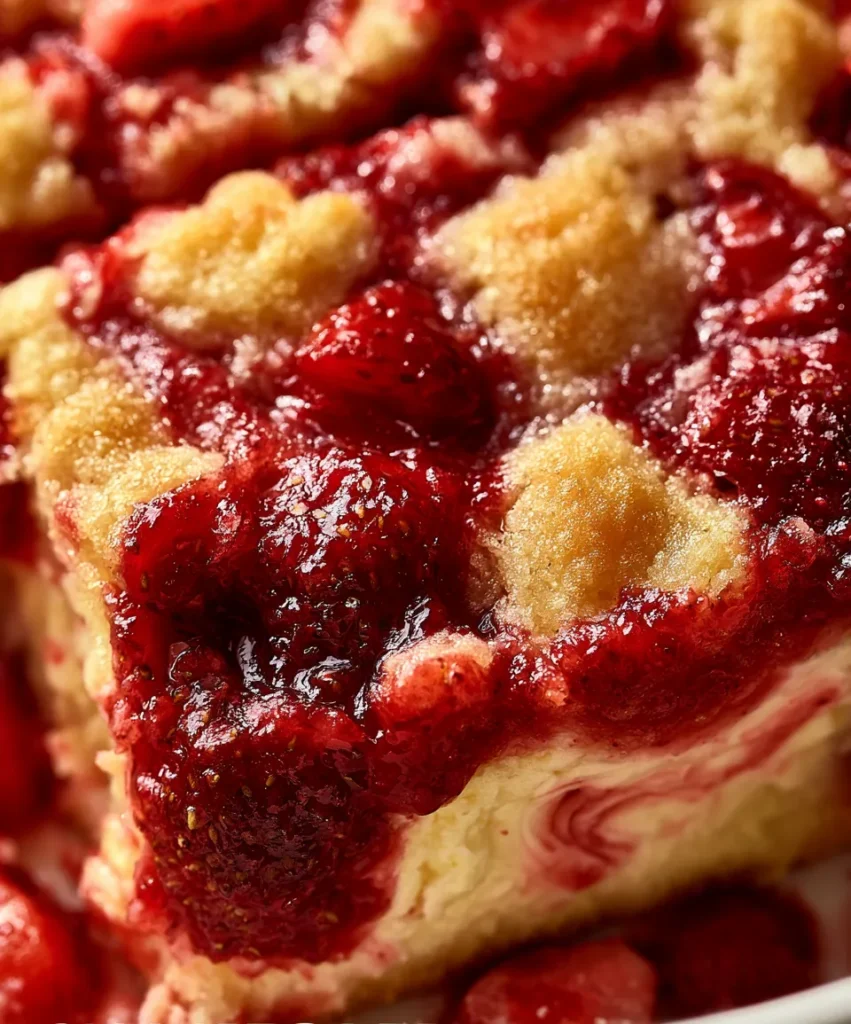
The success of a dump cake dessert depends on layering in the right order. The fruit base provides moisture, the cheesecake layer adds creaminess, and the dry cake mix turns golden once butter melts through it. Nothing gets overmixed, which is part of why the final texture stays soft underneath and crisp on top.
It is also a nice fit for easy dessert recipes with fruit, especially if you like something that can be assembled quickly and baked without much supervision. Once the dish goes in the oven, you really only need to check that the top browns evenly toward the end.
Ingredients You Will Need
- 2 cans strawberry pie filling, 21 oz each
- 225 g cream cheese, softened
- 1/2 cup powdered sugar
- 1 tsp vanilla extract
- 1 box yellow cake mix, about 15 to 18 oz
- 1/2 cup unsalted butter, melted
- 1/2 cup fresh strawberries, sliced, optional
- Whipped cream, for serving, optional
If you want a less sweet version, replace one can of pie filling with fresh strawberries cooked briefly with a little sugar and lemon juice. That keeps the flavor bright while trimming some of the sweetness found in many no bake easy dessert recipes, even though this one is baked.
How to Assemble the Layers
The easiest way to keep the texture balanced is to work in clear layers and avoid stirring them together. That lets each part bake the way it should, which is important in a strawberry cheesecake dump cake where you want visible swirls and pockets of filling.
- Preheat the oven to 175°C (350°F) and grease a 9×13 inch baking dish.
- Spread the strawberry pie filling evenly across the bottom.
- Beat cream cheese, powdered sugar, and vanilla until smooth, then dollop over the fruit layer.
- Sprinkle the dry cake mix evenly over the top, trying not to press it down.
- Drizzle melted butter as evenly as possible over the cake mix.
- Add fresh strawberry slices on top if using.
- Bake for 40 to 45 minutes until the top is golden and the edges are bubbling.
- Let the cake cool for at least 15 minutes before serving.
That cooling time matters. The cheesecake layer firms up slightly as it rests, which makes the slices or spoonfuls cleaner and the dessert easier to serve. If you cut in too soon, the filling stays looser than it should.
Pro Tips for Better Texture
Try to distribute the butter as evenly as possible. Any dry spots in the cake mix can stay powdery if they are not moistened well. A spoon can help drizzle the butter into the corners, which usually need a little extra attention.
Softened cream cheese blends more smoothly and avoids small lumps in the cheesecake layer. If it is too cold, it will not spread as neatly and may stay in thick pieces instead of melting into the fruit while baking.
For dessert snack ideas, you can bake this in a smaller dish and cut it into tighter portions once cooled. That makes it easier to serve at casual gatherings or pack into small containers for later.
Ingredient Swaps and Variations
This recipe is forgiving, which is part of its appeal. It is easy to adjust the fruit, the cake mix, or even the filling without losing the basic structure of the dessert.
- Use white cake mix instead of yellow for a lighter flavor.
- Swap strawberry pie filling for cherry or mixed berry filling.
- Add a handful of chopped freeze dried strawberries for more berry flavor.
- Stir a little lemon zest into the cream cheese layer for a brighter finish.
If you want a more playful version, add a few crushed shortbread cookies on top before baking. It gives the dessert a slightly richer finish and helps with the soft-to-crunchy contrast that people like in a yummy desert style treat.
Troubleshooting Common Problems
If the top stays dry after baking, the butter probably did not cover enough of the cake mix. Next time, drizzle more slowly and check the edges for dry patches before the pan goes into the oven.
If the center looks too loose, give the cake another 5 to 10 minutes in the oven, then rest it longer before serving. The filling continues to set as it cools, which is why this dessert usually improves after a little patience.
Storage and Serving
Store leftover Strawberry Cheesecake Dump Cake 3A5Eb0E367D1 covered in the refrigerator for up to 4 days. The texture stays best when chilled, though a brief microwave warm-up brings back the softer fruit layer if you prefer it that way.
It can be served warm, room temperature, or cold. Warm is the most classic, but cold slices hold together more cleanly. A small spoonful of whipped cream works nicely either way, and fresh berries on the side make it feel a little more finished without adding much effort.
FAQ
Can I use fresh strawberries instead of pie filling? Yes, but cook them first with sugar and a little cornstarch so they do not release too much juice while baking. That helps the dessert hold together better.
Do I need to mix the cake mix with eggs and oil? No. The dry cake mix goes straight on top in a classic dump cake style. The melted butter provides the moisture needed for the topping to bake properly.
Can I make this ahead of time? Yes, it actually sets up nicely after a few hours in the fridge. Reheat individual portions if you want the cheesecake layer a little softer.
What pan size works best? A 9×13 inch dish gives the best balance between fruit, cheesecake, and topping. Smaller pans make the dessert thicker and may need a longer bake time.
Can I freeze this dessert? You can freeze it after baking and cooling completely. Wrap tightly and thaw in the refrigerator before serving for the best texture.
Why is my topping still powdery? There were likely dry patches in the cake mix that did not get enough butter. Drizzle more evenly next time and check the pan edges before baking.
Strawberry Cheesecake Dump Cake 3A5Eb0E367D1
Ingredients
Equipment
Method
- Preheat oven to 175°C (350°F) and grease a 9×13 inch baking dish.
- Spread strawberry pie filling evenly in the bottom of the dish.
- Beat cream cheese, powdered sugar, and vanilla until smooth, then dollop over the fruit.
- Sprinkle dry cake mix evenly over the top without stirring.
- Drizzle melted butter evenly over the cake mix, adding fresh strawberry slices if using.
- Bake for 40 to 45 minutes until golden and bubbly, then cool before serving.
Notes
- Cover the entire cake mix with butter to avoid dry spots.
- Let the dessert cool so the cheesecake layer sets up properly.
- Store covered in the fridge for up to 4 days.