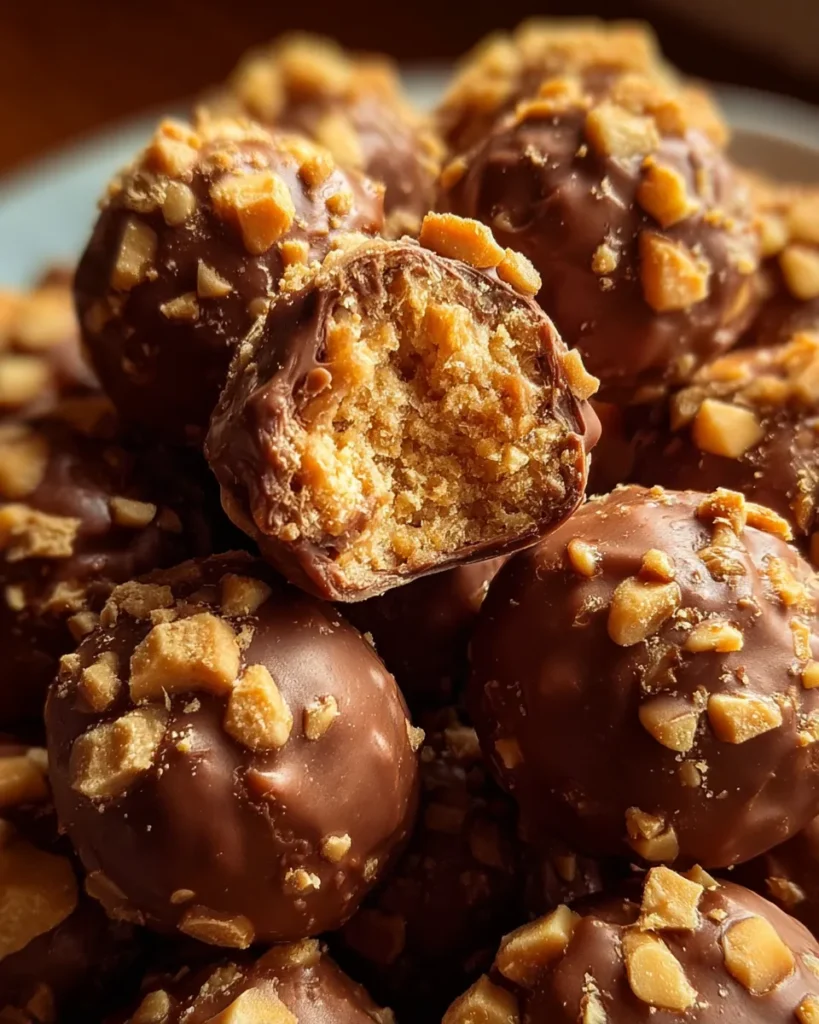
These Butterfinger Balls are the kind of candy that feels special but asks almost nothing in return. You melt chocolate, stir in peanut butter, fold in crushed Butterfingers, shape, and chill. The result is rich, slightly salty, and just sweet enough to qualify as one of the best Christmas candy recipes without needing an oven or a lot of fancy tools.
They fit neatly into things to make with peanut butter that are still outside the usual cookie and brownie slump. You can roll them small for a delicate bite or a bit larger for a more substantial treat, and they keep well for weeks, which makes them ideal for Xmas candy recipes and New Years Eve treats alike.
Ingredients For Butterfinger Balls
The ingredient list is short and flexible, so it is easy to tweak if you only have certain chocolates or peanut butter on hand.
- 1 1/2 cups candy coating or melting chocolate (vanilla or white)
- 1/2 cup creamy peanut butter
- 1/2 cup crushed Butterfinger candy bars
- 1/4 cup finely chopped nuts, optional
- 1/2 tsp vanilla extract, optional
- 2–3 tsp milk or cream, if needed
- Additional crushed Butterfinger for rolling, optional
How To Make Butterfinger Balls Step By Step
The key is warming the mixture just enough so it is soft and scoopable, not runny. Overheating can make the chocolate seize and the texture grainy.
- In a microwave‑safe bowl, microwave the candy coating in 20‑second bursts, stirring in between, until mostly melted and smooth. Do not overheat.
- Stir in the peanut butter until fully combined. If it feels very thick, add a small splash of milk.
- Fold in the crushed Butterfinger and chopped nuts if using.
- Chill the mixture in the refrigerator for 20 to 30 minutes so it firms up enough to roll.
- On a plate, spread a thin layer of extra crushed Butterfinger for coating.
- Use a small cookie scoop or spoon to portion the mixture, then roll into balls.
- Roll each ball in the crushed candy so it is coated evenly.
- Place balls on a lined tray and chill for at least 30 minutes until firm.
Texture Tips And Timing
The mixture should feel like soft cookie dough, not like a stiff paste. If it is too dry after chilling, let it sit at room temperature for 5 to 10 minutes so it softens slightly before rolling. Cold, hard dough cracks and breaks instead of rolling smoothly.
Using a double‑boiler or gentle microwave method keeps the butter chocolate smooth. If the coating gets too hot, it loses its glossy shine and can feel slightly grainy. Better to take a little extra time and stir more often than to rush it in the microwave.
Variations And Easy Swaps
If you want a richer peanut butter candy recipe, add a tablespoon of powdered sugar to the mixture. It lightens the peanut butter flavor slightly and helps the balls hold their shape without needing more chocolate.
For Superbowl sweets or fun snacks for adults, you can replace half the crushed Butterfinger with pretzel pieces or toffee bits. The salty‑crunch contrast plays nicely against the butter chocolate and peanut butter, and it feels like a more grown‑up version of a simple treat.
Common Mistakes And How To Fix Them
One common mistake is rolling the balls too quickly while the mixture is still very soft. They can collapse or stick to your hands, so a brief chill time matters. Let the dough rest long enough that you can press it without it sticking to your fingers.
Another issue is storing the finished balls in a warm room. The butter chocolate softens quickly and the coating becomes sticky. Keep them in an airtight container in the fridge if the room is warm, taking them out 5 minutes before serving so the texture is still smooth.
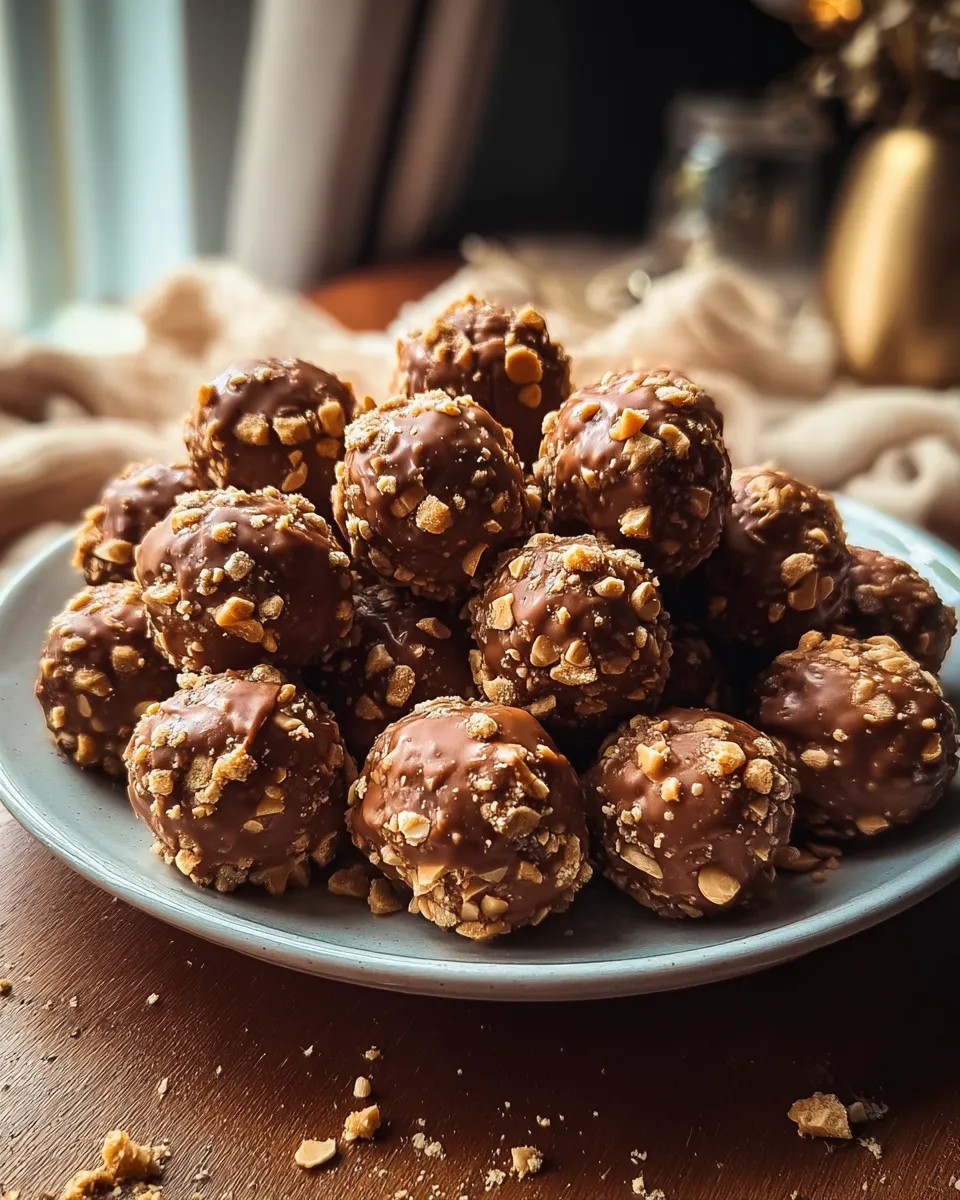
Serving And Storage Ideas
These work well as easy Christmas candy recipes simple enough for a last‑minute gift tray or a dessert bowl at a party. Lay them on parchment paper or wax paper so they do not stick to each other when stacked in a box.
Store Butterfinger Balls in an airtight container in the refrigerator for up to 3 weeks. For longer‑term storage, freeze them in a single layer, then transfer to a freezer bag once firm. Let them thaw at room temperature for 10 minutes before serving so the butter chocolate does not feel hard.
FAQ
Can I use peanut butter cups instead of peanut butter?
Yes, chop them finely and mix them in instead of spreading them over the outside. They add extra richness without changing the basic method.
Can I use dark or milk chocolate instead of candy coating?
Yes, but add a small amount of shortening or coconut oil so it stays smooth and does not seize when mixed with peanut butter.
Why are my balls cracking?
The mixture is too cold or dry. Let it soften slightly at room temperature or add a tiny splash of milk to the dough.
Can kids help make these?
Yes, rolling and coating the balls is a good hands‑on task for older kids, as long as an adult handles the melted chocolate.
How far in advance can I make Butterfinger Balls?
You can make them up to 3 weeks ahead and keep them in the fridge, or freeze them for even longer storage.
Butterfinger Balls
Ingredients
Equipment
Method
- Melt candy coating in short bursts, stirring continuously.
- Stir in peanut butter and, if using, milk to smooth the mixture.
- Fold in crushed Butterfinger and optional nuts.
- Chill mixture, then roll into balls and coat with more crushed Butterfinger.
- Chill until firm and store in an airtight container.
Notes
- Do not overheat the chocolate to avoid seizing.
- Chill the dough briefly if it cracks when rolling.
- Keep in the fridge if the room is warm to prevent stickiness.